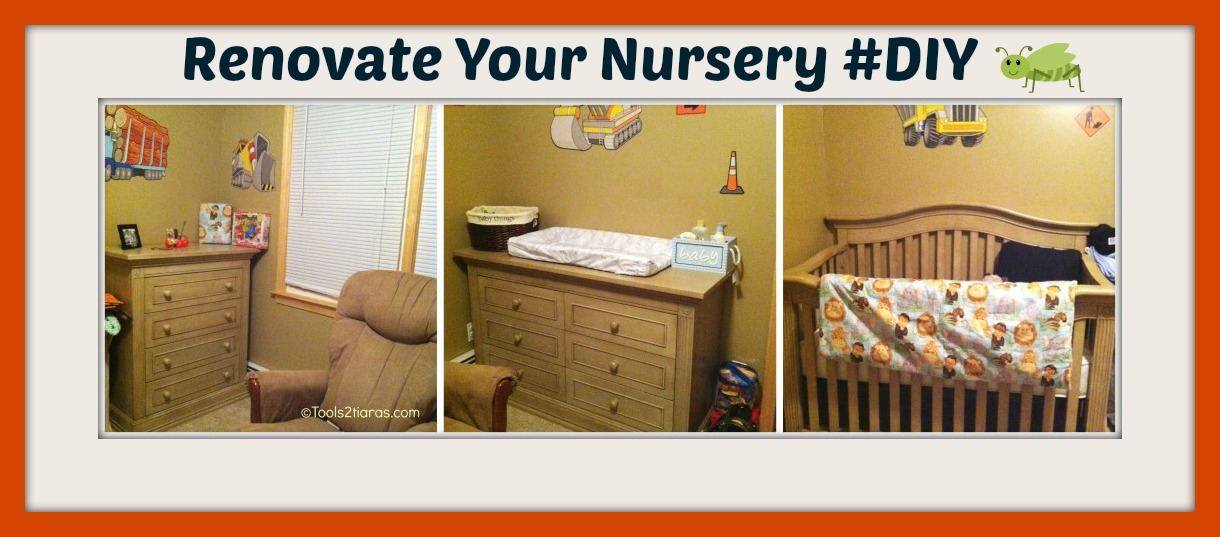
 10 months ago we found out we would be having another baby. Before we would be able to greet our new baby I had to renovate what was going to be his bedroom. When we bought our house 7 years ago it was a fixer upper. The house had not received any updates since the 70’s. You can only imagine the horror that was our reality, shag carpet throughout the house, yellow tile & flower wallpaper (I still have nightmares about it)! I had renovated almost every room except this one because it was just a spare room and was really low on the priority list. Obviously when we found out we would have another child the heat was on to make this room into a suitable nursery.
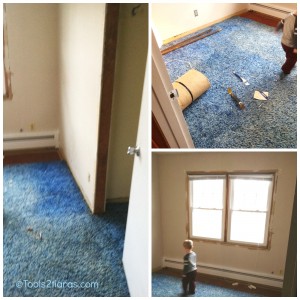
We began with blue shag carpet and an old hollow door that was stained nearly black to match the rest of the original wood trim in the room. Needless to say it was enough to make you cringe every time you opened the door. This is how we took it from junk room to nursery.
Step 1
Demolition: I began by tearing the old carpet out including the old padding.
Step 2
Fix the squeaks: This is an important step if you have an older house like ours. I simply screwed the floor & subfloor into the joists to stop the old nails from squeaking.
Step 3
Remove the old wood trim & door: I used a flat bar to pry the baseboard, door & window trim from the walls. Be careful not to break the sheetrock when you’re prying. Quick Tip: taking an old piece of wood to pry against will disperse the pressure & save you from damaging your sheetrock.
Step 4
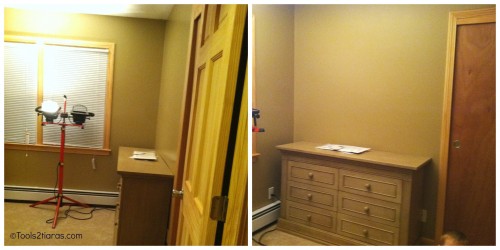
Repair any nail holes etc. in the sheetrock and sand the walls to prepare the room for painting.
Step 5
Pick the color & paint!
Step 6
Install new door. Quick Tip: Go with a pre-hung door to make it easier. Make sure to square the door up in the rough opening and shim as necessary. Don’t forget to check that the door jamb is flush with the sheetrock on both sides or your molding will not fit properly. Nail to secure door into opening. Quick Tip: switch out the middle screw in each hinge for a 2 ½ screw. This will ensure that the door is secured to the studs in the opening.
Step 7
Install the jamb for your closet doors. Same as your entry door shim where necessary and nail to secure.
Step 8
Install your pad & carpet. Begin by cutting your pad to size and stapling in place. The carpet is a little trickier but you can do it yourself. Quick Tip: Cut a little larger than your room’s measurements & trim as necessary after you have it in place. I chose to leave my original nail strips to save on my cost but you can replace the old strips with new ones if necessary.
Step 9
Install your trim. I use a Hitachi Miter Saw that can be purchased for about $100. This will allow you to cut your trim to size & cut the necessary angles for your casings. Quick Tip: Cut the angle first then make your straight cut last. Use a finish nail gun like my Porter Cable to save time & make your job much easier.
Step 10
Decorate as desired. We chose to go with construction equipment reusable wall stickers available from Fathead. They are great and don’t force you to commit to a full wall mural.
It seems like a lot of work but if you are pretty handy and have the tools you can definitely handle a project like this!

What was your biggest DIY project in your home?


 Sneak Peek at Sugar Factory’s Valentine’s
Great tips!! I think paint, trim and fixtures can make a quick easy fix that makes a HUGE difference to a room. I need to update my closets and add new racks and shelving.
I agree Maria! I need to renovate my own room
l Great tips. We did our basement and my daughters room.
I love what you guys did!
I’m impressed!!!!
Biggest DIY project in our home actually involved a pre-hung door. My husband and his dad installed it. We also have that gruesome 70s wallpaper in some areas, but for now that’s pretty far down on the list!
Thanks Jessie! Pre-hung doors takes so much time off the project so you can do other home projects
What a great job. Our only DIY projects were painting walls. We weren’t that creative.
Jen you don’t have to be handy or creative to do a DIY. Just patient!
Great post! We had to do this in the past too! Our nursery is tiny, but perfect! http://stowedstuff.com/2010/05/nursery-help.html
I love the calm, neutral colors that you chose. We have a newer house, so fortunately we haven’t had to tackle any major renovations (YET!)
Jen all I have to say is LUCKY!
That is a huge change! The kids’ bathroom is my big remodel project, the one I’ve been wanting to do for almost a decade… one of these days, it will happen.
Beautiful!! Demo is always so much fun!! I love the colors you chose – those can grow with them. Tweeted!
Thanks so much Jamie!
I love doing rooms for babies as they are such fun. Congrats on the new baby!
Thank you Tara they are fun!
We just moved into a new house to give our tween and teen more living space. There is a cool spare room right off our bedroom that would make a perfect nursery. When I mentioned it, my husband looked shocked, LOL.