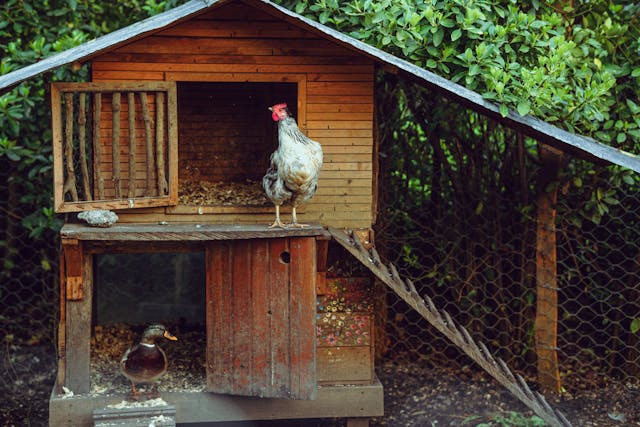
Cleaning a chicken coop is already a chore. But if your coop is placed in the wrong spot, that chore becomes significantly harder, messier, and more time-consuming every single week. Many backyard flock owners focus on the coop’s design and forget that placement determines how easy maintenance will actually be. The good news is that most of these mistakes are avoidable before you ever set the structure down. Here are five placement mistakes that make chicken coops harder to clean, and what you should do instead.
1. Placing the Coop in a Low-Lying or Poorly Draining Area
One of the most common placement errors is setting a coop in a low spot in your yard where water naturally collects. After rain, these areas stay soggy, and that moisture creates real problems for coop maintenance.
When water pools around your coop, the litter inside absorbs humidity from the ground up. Wet bedding is harder to remove, heavier to carry, and far more likely to harbor ammonia and bacteria. Instead of a quick weekly cleanout, you end up scraping and shoveling compacted, damp material that sticks to every surface.
Beyond the bedding itself, poor drainage accelerates wood rot in the coop frame. Rotted wood is nearly impossible to scrub clean because the surface becomes porous and absorbs waste. If you use a metal chicken coop, standing water can lead to rust around the base, which degrades structural integrity and creates rough, hard-to-clean edges over time.
The fix is straightforward: choose a spot with a natural slope or add a gravel base layer before placement. A well-drained location keeps the area dry, the litter light, and your cleanup routine manageable.
2. Positioning the Coop Too Far From a Water Source
Distance from water matters more than most people expect. A coop placed at the far corner of your property might seem ideal for smell or aesthetics, but every cleaning session will remind you of that decision.
Deep cleaning a coop requires water. You need it to scrub floors, rinse waterers, hose down walls, and wash out feeders. If you have to drag a long hose across the yard or haul buckets every time, the inconvenience adds up fast. Many coop owners start skipping thorough washes simply because the effort feels excessive, and that leads to the buildup of waste and bacteria over time.
There is also the matter of daily care. Fresh water for your chickens needs to be topped up regularly. If the walk is long, you are more likely to delay it, which affects flock health along with cleanliness.
The practical solution is to position your coop within comfortable reach of an outdoor spigot or to plan for a dedicated water line before you finalize placement. A coop that is easy to rinse is a coop that actually gets rinsed on schedule.
3. Blocking Access Panels and Doors With Fencing or Structures
It is easy to underestimate how much access matters until you are trying to reach inside a coop with a shovel, and a fence post is directly in the way.
Many backyard setups place the chicken run’s fencing right up against the coop walls, sometimes even across the access doors or cleanout panels. This forces you to crouch, angle tools awkwardly, or completely dismantle part of the run just to get to the interior. Over time, that friction means cleaning sessions get shortened or postponed.
Full-size access doors on the coop’s sides or back are only useful if you can fully open them. Even a door that swings 90 degrees becomes a problem if a fence panel or storage shed sits 12 inches away. The same applies to sliding cleanout trays: they need clear space in front to slide out completely.
Before you finalize your coop position, open every panel and door and physically walk through the cleaning motions. Make sure there is at least two to three feet of clearance around every access point. Plan your run fencing layout after coop placement, not before it.
4. Setting the Coop Directly on the Ground Without Elevation
Ground-level coops create a specific set of cleaning headaches that elevated coops simply do not have.
First, moisture from the soil transfers directly into the coop floor. Even in dry climates, ground contact pulls ambient moisture upward, which keeps the litter damp and promotes mold growth. Damp litter compacts into a dense, heavy layer that takes real effort to remove completely.
Second, pests such as rodents and insects are far more likely to burrow under and into a ground-level coop. Once you have a pest problem, cleaning becomes a secondary concern because the infestation itself creates additional waste, damage, and contamination that requires more aggressive intervention.
Third, and most practically, there is no airflow under a ground-level coop. Airflow under the structure helps dry out the floor from below, which makes a noticeable difference in how frequently you need to change bedding.
Elevating your coop on legs, blocks, or a raised platform addresses all three of these issues at once. Even four to six inches of elevation improves drainage, discourages pests, and extends the life of the floor. Many coop designs with legs also create additional space underneath for the flock to shelter, which is a practical bonus.
5. Ignoring Sun and Wind Orientation When Siting the Coop
The direction your coop faces affects how quickly moisture dries after cleaning, and that detail directly impacts how often you need to clean in the first place.
A coop placed without thought to sun exposure often ends up in too much shade. Shaded coops stay damp longer after rain or after you hose them down. Damp interiors breed bacteria and mold faster, which accelerates the need for cleanouts and makes the interior smell worse between sessions.
At the same time, wind direction matters for odor and drying. If your coop faces directly into the prevailing wind, the interior gets too cold and drafty in cooler months, which affects flock health. But if no fresh air reaches the coop at all, moisture and ammonia build up inside the structure rapidly.
The best orientation for most backyard coops is to face the primary access doors toward the south or southeast. This direction captures morning sunlight, which dries out bedding naturally and keeps the interior warmer and less humid through the day. Position the coop so that strong prevailing winds do not hit the main door directly, but ventilation openings can still pull fresh air through the space effectively.
Thoughtful orientation reduces how often you need to intervene, and it makes each cleaning session faster because the interior starts drier.
Placement decisions made before the coop goes down shape every cleaning session you will have for years. Poor drainage, blocked access, ground contact, limited water, and bad sun orientation all add friction to a task that is already part of regular farm life. Take time to evaluate your yard carefully before you commit to a spot. A well-placed coop is far easier to maintain, which means your flock stays healthier and your weekends stay a little more manageable.